Guide · · By the CHSALL team
Cheer uniform production stages: what happens after you approve the design
What happens after you approve a custom cheer uniform design: pattern and grading, printing, cutting, sewing, rhinestone work, QC and packing, and what to confirm at each stage.
Key takeaways
- Approval is not the end of the design process: grading, printing and cutting are the stages that lock a design in.
- There are eight stages between approval and dispatch: pattern, layout, printing, cutting, sewing, rhinestone work, finishing and packing.
- Each stage has a different "last chance" point for changes. Ask for those cut-off points in writing before you approve.
- Most delays are not production delays. They are approvals, size lists and artwork files arriving late.
Most coaches and team managers only see two moments of a custom uniform order: the design proof, and the box arriving. Everything in between happens in a factory, and that is where timelines are won or lost. This guide walks through the eight stages between approval and dispatch, what is decided at each one, and what you can still change once it has started.
If you are still at the earlier step, our guide to the custom uniform design process covers what to send before a proof can be drawn. And for how long the whole thing usually takes, see how long custom cheer uniforms take.
Why the post-approval stage is where timelines slip
Production itself is predictable: the same stages run in the same order for every order. What is not predictable is the input. A size list that arrives three days late, a logo file that turns out to be a screenshot, a color that two people on the committee remember differently: each one pushes every later stage back.
The practical fix is to treat approval as a single, dated event with one named person on your side. "We will confirm after the next board meeting" is the most expensive sentence in a uniform order.
Stage 1 — Pattern and grading
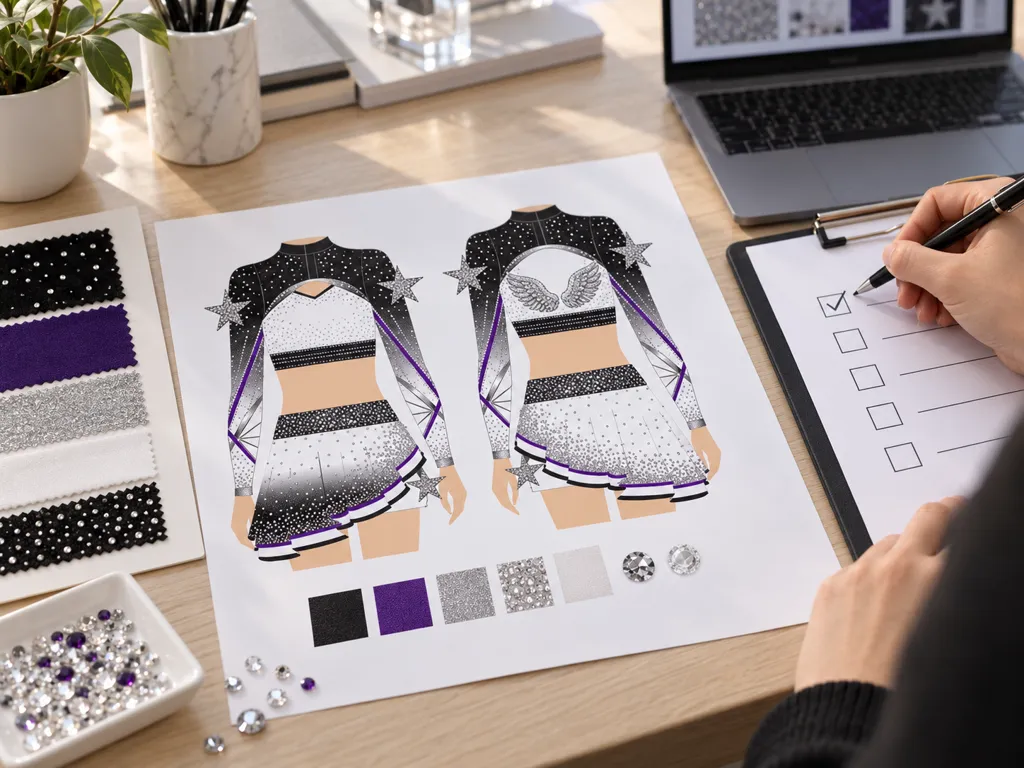
The approved design is turned into a pattern: panel shapes, seam positions and the measurement points that define each size. That base pattern is then graded across your size range.
- What is decided: panel construction, where the seams sit, the measurement points used for every size.
- What to confirm: the measurement points match how you measured your athletes. If your roster was measured loosely over clothing, say so now.
- Last chance for: silhouette changes, sleeve and skirt length, adding pockets or a keyhole back.
This is the stage where a physical sample pays for itself. One athlete wearing a sample through a full practice tells you more about fit and coverage than any line on a size chart.
Stage 2 — Layout
Your artwork, lettering and numbers are placed onto the panel shapes: how the logo sits on the chest, where the team name runs across the back, how a two-color split lines up across a seam. Screen or print layout also flags anything that cannot be produced as drawn: a font too fine to print cleanly, a gradient that will band, a logo with thin strokes that will break up.
| What is decided | What to confirm |
|---|---|
| Position and scale of logo, team name and numbers | Spelling of every name and number, including numerals that look alike |
| How the design crosses seams and panels | Whether a split or stripe should align at the side seam or offset |
| Printability of fine detail | Simplify the artwork if asked, rather than approving something that will not reproduce |
Stage 3 — Printing
For sublimated garments, the design is printed onto transfer paper before it ever touches fabric. This is the stage that fixes color: what the print looks like on paper largely determines what the finished uniform looks like.
Two color realities are worth agreeing on in advance. First, a screen color is a light, and fabric is a surface: a color sampled from a logo on a monitor will not match the printed fabric exactly. Second, the same color on two different base fabrics can read differently. If a color is critical, ask for a printed swatch rather than judging from a screen proof.
Stage 4 — Cutting
Printed panels (or solid-color fabric) are cut to the graded pattern. Modern cutting is accurate, but cutting is also the point of no return for most design changes: once a panel is cut, a change to that panel usually means cutting it again, and the fabric is gone either way. Confirm the cut-off point for changes in writing when you approve.
Stage 5 — Sewing
Panels are assembled into the finished garment: shoulder and side seams, sleeves, skirt or shorts construction, neckline finishing, and any zips or closures. This is the longest single stage in most orders, and the one where construction quality shows.
- What to look for on the finished piece: flat, even seams with no puckering, a neckline that lies flat, and a waistband that does not twist.
- Why it matters for cheer specifically: seams sit under a base's hands in every stunt. A raised or twisted seam is not just cosmetic.
Stage 6 — Rhinestone and decoration work
Rhinestones, applique, embroidery and heat-transfer decoration are applied after assembly, either by hand or by machine depending on the design and the volume. This stage is usually the least forgiving of late changes, because a decoration layout is set against the finished garment panels, and stones are placed in a fixed pattern.
Because decoration is applied to a finished garment, this is also where a rush order becomes genuinely difficult: you cannot move rhinestone work earlier in the sequence. If your deadline is tight, decide early whether the design needs the full stone layout or whether a printed equivalent will do.
Stage 7 — Finishing and quality control
Garments are pressed, loose threads trimmed, and checked against the order: count per size, decoration placement, spelling, and measurements spot-checked against the size chart. Ask what the QC step actually checks on your order, and ask for it in a few concrete terms: piece count, size mix, decoration placement, measurement spot-check.
Stage 8 — Labels and packing
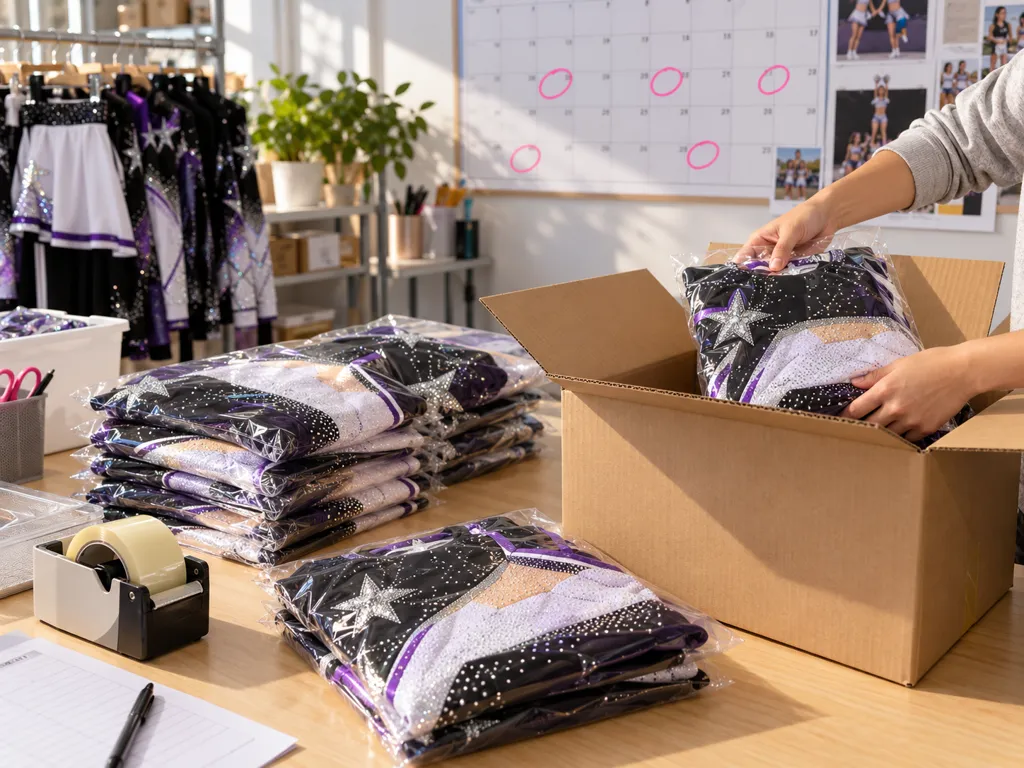
Branded neck labels, size labels, hang tags and individual polybags are added last, then the order is folded, packed and dispatched. If you are supplying your own brand, this is the stage where your label goes on: confirm the artwork and placement before the order reaches it.
What to confirm at each stage
| Stage | You can still change | Locked once started |
|---|---|---|
| Pattern and grading | Silhouette, lengths, measurement points | — |
| Layout | Names, numbers, logo position and scale | — |
| Printing | Color (with a swatch check) | Exact color match to a screen proof |
| Cutting | Little — confirm the cut-off point | Panel shape, size mix, fabric quantity |
| Sewing | Nothing structural | Construction and measurements |
| Decoration | Nothing on stone placement | Decoration layout and density |
| Finishing / QC | Packing and shipping details | — |
| Packing | Dispatch and delivery details | Label placement |
Keeping the order on schedule
- One approver, one thread. Give the factory a single named contact, and keep approvals in writing in the same channel.
- Send the size list in full. Counts per size, not names, and in one message rather than a trickle over two weeks.
- Send vector artwork. A vector logo file avoids a rebuild that costs days at the layout stage.
- Confirm the cut-off points. Ask when the last moment for a change is, and write the answer down.
- Book the deadline backwards. Work back from your first competition, not forward from the order date, and leave room for shipping.
The same sequence runs for a practice wear order as for a competition uniform, with one difference: practice sets are usually reordered as athletes join. If you want to see how these stages look in practice, our how to order page walks through the sequence from enquiry to delivery. Ordering uniforms for several teams, a gym or your own label? See wholesale and OEM.
FAQ
Can I change the design after I approve it?
It depends on the stage. Before the pattern is graded and the fabric is printed or cut, color and logo changes are usually still possible. Once panels are printed or cut, a change usually means re-cutting that panel, which can add cost and time. Ask for the exact cut-off point in writing before you approve.
How do I know the sizes will fit my roster?
Ask for a physical sample in one size and have an athlete wear it through a full practice before you approve the fit. Then send your roster as a full size list with counts per size, not individual names, and confirm the measurement points used for grading.
What should I check when the order arrives?
Count every piece against the packing list, check the sizes against the list you sent, inspect the decoration on one garment from each size, and have two or three athletes try the set on before the first competition. Report anything wrong with photographs within the window stated in your order confirmation.
Planning team uniforms?
Send your style, colors, quantity and deadline: we reply with a quote. General MOQ 10 pcs, production 10–25 days.